Thursday, April 4, 2013

Meeska Mouska Mickey Mouse 3rd Birthday Partayyyyyy

Hey there lovelies! Hope this week is treating you well! Ever since I did my guest post on Lovely Little Parties blog, I have been meaning to post the rest of the details from Teddy's third birthday party which was a Mickey and Minnie Mouse theme! I loved this party so much! It was a TON of work, but really rewarding at the same time. I think I say that about every party I throw! Ha! Anywho, enjoy some of the party deets!

I went with more of a polka dot theme with red and white and black and threw a couple Mickey and Minnie decorations in. You can't go wrong with polka dots! Ever! 


The first thing I knew I had to make for the party were Mickey and Minnie ears for the kids to wear. These were a true labor of love. At one point as I was cutting 80 foam circles and felt pieces, my hubs told me I should have just ordered them on Etsy! Ha! Because I am crafty, I always want to do things myself regardless of my serious lack of time! There is not much that I see that I don't think "hey, I can totally do that myself!" and teach myself to do it. (Really, that is how my embroidery and baby items business was created.) So, I set out to make 30 sets of ears! HUGE undertaking! I hand wrapped each headband in black yarn and made felt and foam ears and of course, bows for the Minnie ears. I found a tutorial online, but after looking at it, I didn't love how complicated it seemed to wrap the headbands (since I was making so many), so I just kinda created my own version. Over all, I loved how all my little details helped make the party even more special. 

Being a bow lover, the Minnie ears were my favorite! As you can see, they aren't perfect, but like I say, perfection is overrated. I loved them!


Many late nights happened when planning this party. You see my assembly line here. Hot glue was used in epic proportions. :)


We had the party at the park that is next door to our house, so I had all the ears in a basket for the kids and parents to grab as they walked in!


I made little signs with sayings from Mickey Mouse Clubhouse. I knew them all by heart at the time. Teddy was OBSESSED with it! 


 I made these cute centerpieces for the picnic tables. I started them at 7 one evening, in true Ashley fashion. My best ideas come to me at night after stores are closed and kids are in bed! They were Styrofoam balls that I painted black and hot-glued together. Then, I stuck them in foam pieces and put them in these cute red galvanized tin buckets. I buy these mini galvanized buckets a lot. I think they are great and I often use them for silverware, etc when hosting a party. You can never have too many, in my opinion! There were little signs with more sayings from Mickey Mouse Clubhouse and Happy Birthday signs! I thought they were a perfect little table topper! Really love this idea! 


These were probably one of my favorite parts of the party. I am a huge fan of paper cones and I knew immediately when beginning plans for both of Teddy's parties, that I needed to make some to hold snacks for the party. Then I set out to find some Mickey Mouse paper! I think they turned out so cute! I loved them and they were so easy for the kids to hold and the kiddos loved them! A lot of the kids were walking around playing with a cone in one hand...perfect snack holder! These are my new go to thing for parties from now on! I stayed up till midnight one night making these. Because I made so many, they are def a time consumer, but worth it for sure! I filled them with Goldfish and Organic Animal Crackers. I originally wanted some sort of Mickey and Minnie cookies/crackers, but they were non-existant! I am just sure that I'll see them everywhere now that I don't need them! Ha! There was a little sign in the basket that said "Mouseketeer Snacks" These are really the best option for a kids party, unless you are going to have little bags of snacks. You could use sturdy cupcake wrappers as well. They fit into a kid hand perfectly!


Of course, I was up late at night making these. Again, they were time consuming but oh so worth it! 


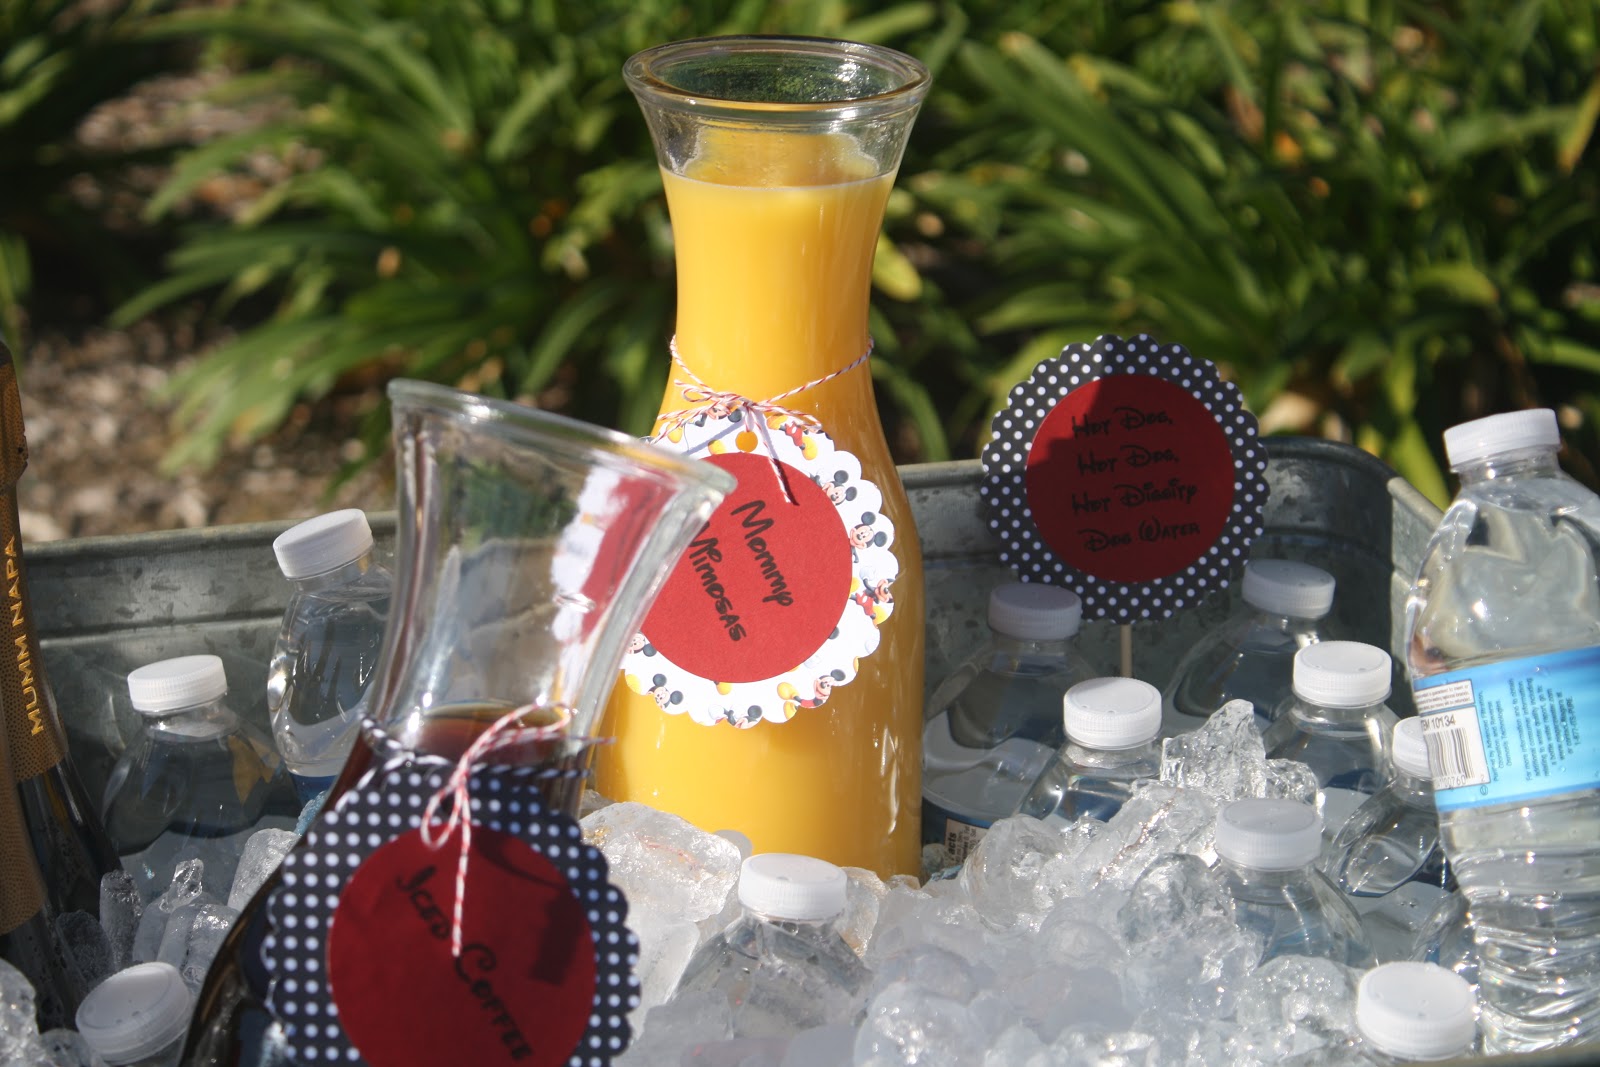
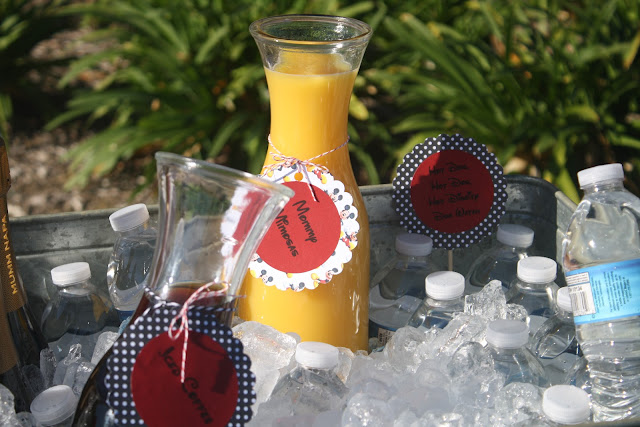
Like I always say, you need a little alcohol to get through a child's birthday party so I had For the mommas, we had "Mommy Mimosas," (Why not?! Something to take the edge off! Ha!) P-Dub's Iced Coffee (This stuff is addicting. I am way over-caffinated when I have this in my fridge!) and of course we had "Hot dog, hot dog, hot diggity dog waters!"



I found these awesome Mickey Mouse themed apple juices the day before the party! Score! They were so fun and the kids LOVED them!


Okay, so maybe it's tie between the favors and paper cones as my favorite creation for the party. I loved these. Not only are they adorable, they are delicious! I was planning on making these all along but wanted to wait until the day before the party to make them so they'd keep longer. I loosely followed Bakerella's Tut on how she made her pops. I did not bother with dying white chocolate, black. To me, dark cocoa candy melts worked perfectly and saved me from doing that step. No one noticed that they weren't true black. I also, just used candy melts for ears. I didn't cut them like she suggested (again, I needed to save a bit of time), I just stuck the whole melt into melted chocolate and stuck them into the heads...they turned out perfectly! I think Bakerella would be proud! This was my first attempt at cake pops and I really enjoyed making them and enjoyed how much everyone else loved them! I used hearts to make the bows for Minnie...luckily, I had no issue finding large heart sprinkles, seeing as Valentine's Day is right around the corner! I was working on these until midnight the night before the party of course! Ha! I wrapped them in cute clear bags tied with red baker's twine (Crate and Barrel) and black baker's twine from the same shop, where I purchased the paper straws. I have a love affair with baker's twine. I just love it and love all the different uses for it! I ordered a few more colors too (she has some really vibrant and fabulous colors!)...so much fun! The kiddos and mommas loved these pops as favors! I got a bunch of texts saying they couldn't stop eating them! Yep. That's about right! ;)


Lots of people use egg cartons to put their drying cake pops in but these were pretty heavy and kept tipping, so I used an upside down colander. It worked perfectly!


I had these on a table for people to grab as they left! Yum. I might have to make these again soon! 


Here is the food table! You can't see, but the napkins were polka dots to go with the theme! I loved them! Love this banner too! :)


Most importantly, this guy had the best time! It was such a fun party to throw! I have often wondered if I will be throwing another Mickey and Minnie partayyy for Reagan sometime in the next couple years! We shall see and if so, at least I have a bunch of ideas already! :)


I am glad that I finally finished this post! It has been in the works for awhile! Ha! Hope you enjoyed a little look into Teddy's 3rd Birthday party! As always, if you have any questions, please feel free to ask! Hope you are having the best week! 

xoxo,
Ashley 


Tuesday, April 2, 2013

The Perfect Picture

Hi lovelies!!! I was MIA last week! I am swamped with orders right now! It's so awesome! Love that people are loving my work!  Anywho, as I was uploading pictures this am, I was thinking about my desire to constantly take family pictures and really just pictures of the Little Presidents, in general. Do you have the need for the perfect family picture? I always strive to get at least one good one when we are all dressed up and together. Every.single.holiday and really numerous times a day in general, I am trying desperately to get the Little Presidents to smile or even just look at the camera at the same time...you can never take too many pictures in my opinion...or in my hubby's opinion, you can! Ha! I feel like it was not even close to being as hard when we just had Teddy, but after Reagan joined the mix, it's total chaos anytime I want a family picture taken. I assume it's the fact that I have one more person to try and get to smile and be happy(look happy)! Ha! Here are a few fabulous hilarious outtakes from our holiday weekend...

We only had a few minutes before church, but I knew if we didn't take pics before, they would probably be a mess afterwards...

Everybody's happy...


Reagan is only happy to take a picture on her terms. Clearly. Teddy just rebels because, hey, why not?Can't forget to address me...I'm hunched over and looking ridic! Ha!


I'm pretty sure my hubs was telling me "maybe we should just do this later," in this pic. Ha!


Reagan is thrilled. Luckily Boo is always happy to be a part of the pics!


Yep.


Victory! She's crying and Teddy's not looking but still...we got a pic! 


And again, that evening, she was thrilled to take a pic again.


The blur is all too common in my pictures these days. 


Blurrrrrrr.


I have decided that I don't even care how the pictures turn out. I just care that we take them. Someday we will look back on this Easter (really a lot of pictures for that matter) and laugh about how crazy funny the Little Presidents were and how hard it was to take pictures of them some days! My thought is, memories are memories...perfect smiling pictures or not and hey, with two toddlers, the "not" is definitely more common these days! And I am okay with that! :) Hope you all had the most fabulous weekend celebrating Easter. We had such a blessed and fun filled weekend with family! 


"For God so loved the world, that He gave His only begotten Son, that whoever believes in Him should not perish, but have eternal life. "For God did not send the Son into the world to judge the world, but that the world should be saved through Him. -John 3:16-17
xoxo,
Ashley


Sunday, March 17, 2013

Little Presidents Spring Forward

We have had the nicest weather over the past few weeks. So, naturally, we are thinking about fun in the sun and beach and pool time! The Little Presidents (and mommy) are gearing up for Spring and Summer and here are a few of our favorite things that will be key in their wardrobes over the months ahead!

We love our fedoras in this house! I tried a few of them for Teddy last year and ended up with one from  Children's Place that worked best. When Reagan started requesting one a couple weeks ago(yes, she asked me for a "hat?" like Teddy's), I searched and again ended up at Children's Place. I bought this one for Teddy(he can always use a second hat) and this one for Reagan. She has become obsessed with it and wears it all the time! So cute! Love how much they both love hats!


Next up are Mini Boden Jersey Baggies. To me, these are the ideal pair of shorts for a little guy on the go. Teddy has had them every spring/summer and we love them! They last forever and we usually get a TON of wear out of them. Mini Boden is such great quality stuff. This is my favorite pair we own~pictured below. Love the navy and white stripes.


I am a HUGE fan of these jersey skorts for my little lady now that she can wear the girls sizes. Love a good skort! We always add bloomers under skirts and dresses but this is so easy! Reagan loves to wear skirts and this is the best of both worlds. Comfy, adorable and practical! We bought them in a few colors! :)


 Next up is crewcuts tees. I love to collect t-shirts for Teddy. They are just so fun and have the cutest sayings. They pair perfectly with the jersey baggies. This is a fav of ours right now~pictured below. This "Heart Breaker" tee is one we have had from crewcuts for the past few years in different size and color! Love the saying! :)
I am HUGE fan of Peek clothing. I started buying their stuff for Teddy when he was a baby and just love them! There shirts are so soft and again, I love all the sayings. While I was at our mall a week ago, I saw that a Peek store is coming soon. So very exciting! They had closed to other two stores that I had typically shopped at, so I have had to shop online for the most the past year or so! Nordstrom carries a few of their items, like they do with Mini Boden, but it's not the same. I prefer shopping in the actual store or on the website, just like with MB! We always love their presidential tees. We need a Reagan one, Peek peeps! 


We love Native Shoes! These are both kids shoes of the summer when we do the beach or pool. I love the "Howard" because it looks like a topsider. Seriously too cute! Teddy always does the neon yellowish and Reagan does the pink! They are easy to slip on and off! Perfect! The Easter bunny might be bringing this year's sizes in their baskets... :)


We love the Toms Mary Janes for Reagan. They have been a staple since she started walking. The regular Toms kept slipping off her feet. These are perfect for her. Teddy recently tried the classic Toms again (They used to slip off his feet too!) and he is loving them and they are easy for him to slip on. I really love the whole idea behind the Toms company. They do glasses now too! Really such a great company. 

Those are just a few of our key items that we are loving right now! I have too much fun outfitting the Little Presidents! What are your fav spring/summer items for your kiddos? I think my list could go on forever! So hard to just pick a few! 

xoxo,
Ashley

Thursday, March 14, 2013

Pizza Pizza

Hi there!!! I hope this Thursday morning finds you well! It's almost the weekend! Woohoo!! For us the weekend means pizza will be happening!!! We do pizza nights a lot here at the presidential household...typically Friday nights, but crazier things have happened and we will do other nights as well...sometimes...get this...two nights in one week! Ha! I get sooooo many questions from friends, family, insta friends on how we do our pizza! So I finally decided to write a post that I can refer people to when they ask me. There are a few key items that make the best pizzas! Here we go!!! Tonight, I'm sure I'll dream of fresh mozzarella cheese and bread after writing this! Ha!

First things first...you MUST use a Pizza Stone!!!! MUST!!!! The amazing part of a stone is you that you pre-cook it at 500 degrees for at least 30 minutes and then you slide the pizza onto it...the bottom of the pizza will be cooked to perfection. I have two of this stone. Ours are wayyyyyyy seasoned. You must season your stone prior to using. You can do so with cornstarch! Your stone will be seasoned within a few times of using it. I don't use the metal stand. I just remove the stones from the oven and place them on my stove! There are a TON of pizza stone options out there! This is just what we use (one was a wedding gift and I bought the second) and love them!
Next up is the Pizza Peel! This is another necessity! You assemble your pizza dough and toppings on this fabulous peel (floured...lots of flour) and then slide your pizza onto your pre-cooked stone, already in the oven! This product is life changing if you make a lot of pizzas like we do. 

Onto more pizza stones! In the summer, we love to do grilled pizzas and we use these Cordierite Pizza Stones. They come in a set of 6. So fun! Everyone can build and make their own pizzas! The kids love this and we have done this for friends and family as well. Happiness all around! We love to grill veggies of all sorts, chicken (my hubs loves this...not me!) and then add them to the pizzas before we grill them. I pre-heat these stones in the oven (500 degrees for at least 30 minutes) before we grill them, as well. You must season these stones too!

Pizza Cutters are a must as well! You need it to cut through the crust for sure! We have a basic one like this but I am adding this and this to my wish list (Mother's Day, Birthday, Just because! Ha!)! 
They look AWESOME!!!!! 


A good dough recipe is key! We have used this recipe which is from the Baking Illustrated cookbook. I need to add this book to my wish list too! I have used this recipe so long that I know it by heart. I always try to make a few batches at a time so that I can keep it in the freezer! Here are two batches that I made last week, which will make 2 large pizzas each(so 4 large pizzas altogether) or 4 mini pizzas each(so 8 mini pizzas altogether). This is what it looks like when it's rising.


Here is our pizza from last Friday night. We did one pizza and did half grilled veggies and prosciutto and half cheese (for the little presidents). The possibilities are endless. We have made so many amazing pizzas over the years. You can have so much fun with the toppings. We have a few favorites of course!  My pizzas have gotten rounder over the years. I like that they're not perfect circles. Perfection is overrated. :)


King Arthur Bread Flour is the only way to go for bread flour in my opinion. Love it!

So there you go! Those are our key items for a fabulous, delish and fun pizza night! After lots of practice you might even be able to toss your dough up the air like I do!  Haven't dropped it yet! It helps to sing "Hey Mambo, Mambo Italiano" while tossing the dough in the air! :) Just remember to have fun with it! Pizza nights are a blast for everyone! 


Hopefully you will have your own pizza night this weekend! Maybe even add in a mojito! :) Have a fabulous and blessed couple of days!

xoxo,
Ashley


Tuesday, March 12, 2013

Guest Posting~LLP

Hey there lovelies! Happy Tuesday! Just a quick note to let you guys know that I am guest posting on Lovely Little Parties today! I am discussing some of my all time favorite party details! It was so neat to be asked to do this and I had way too much fun going back through the past couple years of parties and picking details that I loved! Please stop on by and read my guest post over there! Hopefully it will give some party planning inspiration!


Have the best day!!! 

xoxo,
Ashley

Monday, March 11, 2013

Mojito Monday

Happy Monday lovely peeps! I have the song "Manic Monday" in my head, so I decided to change it up to "Mojito Monday!" It's no surprise to most people that know me, that my hubs is a "mojito master!" We even have a speacial name for them that one of our friends came up with~"Aseanitos." We have had such beautiful weather, besides a tiny bit of rain last week, so, we decided at the last minute yesterday afternoon to do fish (ahi) tacos and have our good friends for dinner! As my hubs was making the grocery list, he said "do we have limes?" and I said "we should do mojitos!" at the same time! Ha! Great minds think alike?! :) 

 Anywho, I have had a couple people request the recipe that we use. My hubs tells me the recipe is all in his head, so this will be a loose recipe and you should always taste test too! We (my hubs) typically makes them ahead of time if we are having a party or even just having people over for dinner. Then he is not stuck making drinks all night. It works out great! Everything tastes better in a mason jar and when you put a lid on it, it also doubles as a cocktail shaker! So, all your guests need to do is give the mojito a little shake, add a straw and it's ready! Yum! You can do this with pretty much any mixed beverage! We have done it with margaritas as well! 


Depending on how many mojitos you want to make, you'll need a lot of limes and mint. Mint is a really great thing to have in your yard. Just beware that it will completely take over the ground where you plant it! Our plant was doing awesome and then it was not. I believe it has something to do with the wiener pups...they like to eat our harvest. Abbey usually eats most of the blueberries before any of us can! Ha!


You will also need a muddler. If you have ever had a bad mojito, I can pretty much guarantee that the bartender did not muddle the lime and mint enough. I rarely order them when we are out because of this. You have to take your time muddling. The taste of mint needs to be strong!
  
Another secret weapon is using sugar instead of simple syrup. Muddling the lime, mint and sugar together is key. The sugar seems to exfoliate the mint and it really helps make the mint taste strong!


He also adds more sugar to the ice later in the process. This is not a skinny cocktail! Ha!


Here is the whole setup. A whole lot of deliciousness getting ready to happen!


The finished product! Add a fun straw and enjoy! 


Aseanito Recipe(makes 1 mojito)
1.       1 tablespoon of sugar
2.       5-6 large mint leaves
3.       Muddle mint and sugar
4.       Squeeze in half a lime
5.       Muddle
6.       2/3 inches of rum
7.       Fill with ice
8.       Add ½ tablespoon of sugar
9.       Fill with Club Soda
10.   Shake
11. Enjoy!

Mojitos are really pretty simple to make and so refreshing and delish! They are the perfect addiction to any party or just a relaxing Spring/Summer evening at home! Hope you are all happy and healthy on this beautiful Monday morning. We are off to enjoy some fun in the sun, after a quick visit to the dentist (blah!)! Happy Mojito Monday!

xoxo,
Ashley